
Download Stock Firmware/Flash File Vivo Z1x PD2012:
Official Stock Firmware Flash File Now available for the Vivo PD2012 & You can download it from below. by using this firmware you can solve all software Issues on your Vivo PD2012 such as hang logo, frp lock, fastboot Mode, display blank or white after flash, dead recovery, dead after flash etc.
Vivo PD2012 Run on Android 9.0 and it is Powered by QCOM SD712G Processor. it is a dual SIM smartphone support Nano SIM card, connectivity features Include hotspot, GPS, WIFI, bluetooth 3G & 4G. The device come with 6GB of RAM and 64GB of storage that can be expandable via SD card.
Note:
- flash at own risk
Why We Need Stock Firmware?
- to downgrade a device
- to upgrade a device
- Remove FRP, Pattern and Pin lock
- fix bootloop and software issue on a device
- completely Re-Installation of Board Software
Safety Require:
Firmware Information:
Device Name: Vivo PD2012
Type: Full ROM+ OTA’s
ROM Size: up to 3-7GB
SoC: QCOM SD710
Os: Android 9.0
Password: Null
Gapps: Included
Root access: Not
Firmware Version:
PD2012_A_1.8.9_vivo_qcom_LA.UM.8.13.r1-00600_sm7250_split
Download Links:
EDL Firmware:
full firmware to Reinstall board software (only for dead and bootloop devices)
- PD2012_A_1.8.9 QPST: Download
OTA Updates:
to upgrade a working phone (first check Installed firmware version with in your Phone)
- PD2012_A_1.8.9 INDIA: Download
Flash Tools:
usb Driver:
- QD Loader Driver: Here
How to Install Stock Firmware on Vivo PD2012:
- Download & Extract QFIL tools
- Download & Extract Firmware Package
- Install QD Loader usb Driver on PC
- Connect Phone to PC & Reboot to EDL use code Via adb: adb reboot edl
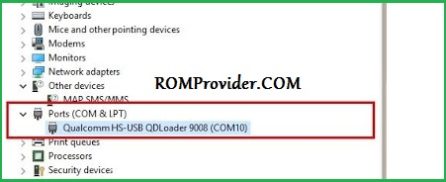
- You can see usb Driver Like below Image in Device Manager (if Not then Your Phone Not detected by computer Please do test Point= Short the test Point Pinout)
- Run QFIL and Load Programmer and XML Files From ROM Folder
- Click Download
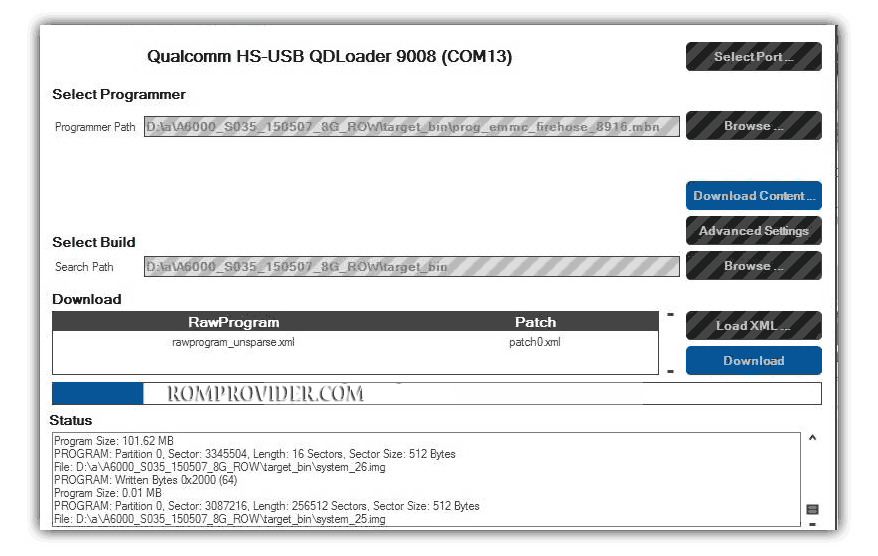
- Wait until Success. Your Phone Rebooted..
How to Install Recovery/OTA Firmware:
- follow step by step guide from Here
Read also: