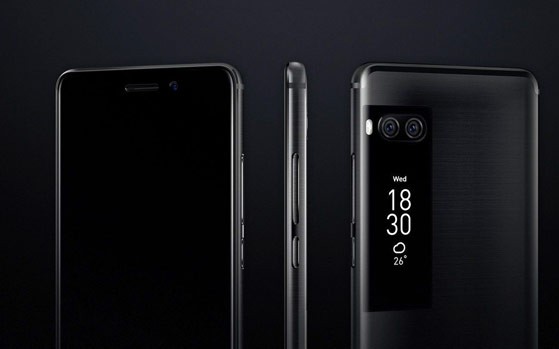
Root twrp Meizu PRO 7-
twrp Recovery now Released For the Meizu PRO 7 and Finally We have A Solution to Root it. So that today we will talk about this topic. In the topic We are going to Share a Complete Guide to Root Meizu PRO 7 by using the SuperSU and twrp Recovery.
Many peoples use Meizu PRO 7 but few people know about rooting the phone . So the article For that Whom does Not Know How to Root. Root is Not Necessary for all Peoples but it Require to achieve Some advance features of the Device .
by Rooting the Phone You can improve Your phone’s performance even better. but it also Dangerous for Newby. You can get the full information about ” Android root ” from Here. We can root our phone in two ways First one using the Computer and other one Without using the Computer. but The Meizu PRO 7 is Not Rootable without a Computer So You Must have a PC to Root it. Let’s get Start The process.
Note-
1. This Guide is Work only on Listed Device. So please Don’t try it on any other Phone.
2. Flashing The ROM Will Erase all your Data, So Must create a backup of your Personal data before Flashing,
3. Please Do carefully, We are not Responsible for any damage, bootloop, or dead SD card’s.
4. Ensure that your Device at-least 50% charge During Flashing Process,to Stop the Accidentally Shut Down.
5. Follow all steps correctly otherwise it Will cause bootloop.
Features of TWRP Recovery:
- You can flash Custom ROM on
- You can flash modding zip files to customize your phone
- Easy to flash and use Xposed Modules using TWRP
- Easy to Root and Unroot using TWRP Recovery flashable zip SuperSU
- You can install Magisk on
- You can always take FULL NANDROID Backup in case of any modding or flashing.
- Easy access to restore the Nandroid Backup.
- You can flash the image file using TWRP Recovery
- Easy to remove all bloatware using TWRP Recovery
- To underclock and overclock.
- You can clean Wipe, Cache, and Data.
Must Require:
1. backup NVRAM
2. backup Your Personal data
3. Create a nandroid backup
Download-
| File Name | Download |
| twrp Meizu PRO 7 | Download |
| SuperSu/ Magisk | Download |
| adb fastboot Driver | Download |
| No-verity-opt-Encrypt | Download |
| adb fastboot tools | Download |
Pre-Requirement’s:
- unlocked bootloader [use below Guide]
- PC and usb
- adb tools Setup, Download and extract in a folder.
- Move recovery File to adb folder [must rename it [recovery.img]
- Install adb fastboot Driver
- enable usb debugging and oem unlock
How to Install twrp Recovery on Meizu PRO 7-
Step 1. Download twrp Recovery From above and extract in adb Folder [also Download and extract From above]
Step 2. Download & Install adb fastboot Driver On Your PC
Step 3. then follow Bellow Instructions,
Step 4. Go to Setting>about Phone>type 7 time Build number > Back>Developer Option and Enable Device Debugging and Oem Unlock.
Step 5. Now Install Correct adb and fastboot Driver on Your PC[Skip if Installed], Go to adb folder[Extracted in above step] Connect Device to PC using usb open CMD Here and type command .
adb reboot bootloaderStep 6. Your Device Booted in Fastboot Mod To check Device connectivity type
fastboot devicesStep 7. Unlock bootloader:
fastboot oem unlock
fastboot flashing unlock
Step 8. Rename twrp to recovery.img and Move it in adb Folder(if Done skip it),
Flash twrp on Meizu PRO 7 using below Code:
fastboot flash recovery recovery.img
Reboot Meizu PRO 7 to twrp using This Code:
fastboot boot recovery.imgStep 9. Recovery is Now Flashed [installed] Your Phone also booted in twrp Make a System Reboot. or Flash zip if you Want.
Step 10. Done
Method 2:
- Enable Root From Settings/Security fingerprint Section.
- Download Flashify app From Play Store.
- Run and Go to Recovery tab Locate Downloaded twrp.img File click Flash Give Root Permission
- Done/ Reboot to Recovery.
How to Root Meizu PRO 7-
adb reboot recoveryRelated articles-
1, Vivo Bootloader unlocker.
2. Samsung tool Pro 30.8 Download.
3. How to Repair IMEI Number on Qualcomm Phone [Easy Method]
4. How to Install Xposed framework on any Android Device [also Nougat]
5. How to Root without PC [Easy method]
6. How to backup NVRAM aka IMEI Number [Easy method Mediatek]