
Qualcomm CrashDump Mode is a condition that can be encountered by users of OnePlus 10T when they find themselves stuck in a boot loop, with an error message indicating the presence of the CrashDump Mode.
In this blog post, we will delve into the possible causes of the Qualcomm CrashDump Mode, explore troubleshooting steps, and offer insights into preventing such issues in the future.
Causes of Qualcomm CrashDump Mode on OnePlus 10T:
- Software Glitches:
- Firmware or software glitches can lead to the device getting stuck in a boot loop. This might be caused by incompatible corrupted system files, or incomplete software updates.
- Hardware Issues:
- Malfunctions in the device’s hardware components, such as the processor or memory, can trigger the CrashDump Mode. Overheating or physical damage may contribute to hardware-related problems.
- Rooting or Modding:
- Users who have rooted or modified their devices may encounter the CrashDump Mode more frequently. Unauthorized system modifications can destabilize the device’s functionality.
How to Fix Qualcomm CrashDump Mode on OnePlus 10T:
Reflashing the correct firmware via edl can be a potential solution to fix issues related to Qualcomm CrashDump Mode.
Prerequisites:
- Download Correct Firmware:
- Install QFIL:
How to Reflash OnePlus 10T:
- Download & Unpack the ROM File & Oplus Download Tool: download latest version of oplus download tool & stock edl firmware, once downloaded extract the firmware and tool
- Install Oplus Driver: Download & Install the latest Oplus driver on your computer. This ensures seamless communication between your device and the computer during the firmware installation.
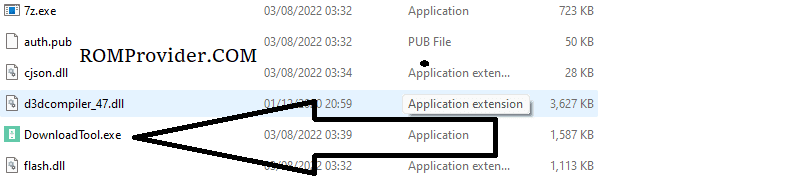
- Launch Oplus Download Tool: open tool folder and run Download-tool.exe on your computer.
- Login Oplus tool: Log in oplus tool using your Oppo ID credentials to proceed with the firmware installation.

- Locate Firmware (ofp) File or Directory: Identify the firmware file (ofp) or directory where it is stored. Make sure to select the correct file for your device.
- Initiate the Firmware Installation: Click on the “Start” button to ‘Start’ the firmware installation process.
- Connect Phone to Computer: Connect your Oplus device to the computer using the following pattern: Volume Up + Volume Down + USB cable. If your device is not recognized, perform a test point to establish the connection.
- Wait until Success: allow the installation process to unfold. Be patient and wait until you receive a success confirmation soon.

- Completion and Device Unplugging: Once the installation is successfully completed, disconnect your device from the computer. it will start automatically.
- Contact Me for msm auth, unbrick, frp, reset, repair (paid )