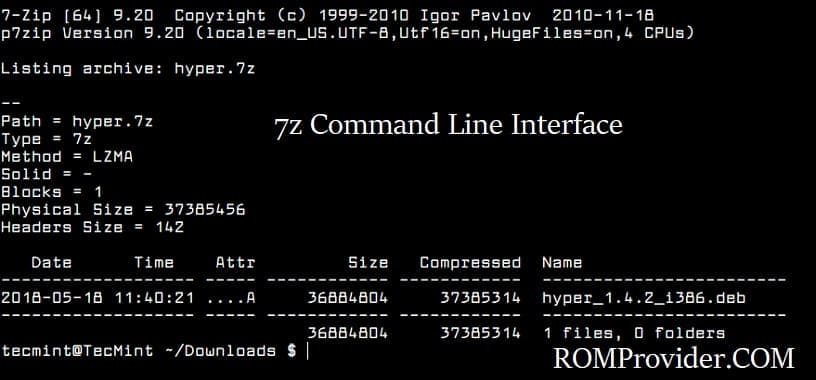
7-Zip is a powerful tool for Windows. While its graphical user interface offers superb functionality, but command line operations can unlock even greater potential for automation. In this guide, we’ll explore the capabilities of 7-Zip through Windows command line interface.
Why Command Line Compression?
- Automation: Command line commands can be scripted and automated, streamlining repetitive tasks and saving time.
- Flexibility: Command line options provide better control over compression settings, allowing for customized configurations tailored to specific needs.
- Efficiency: Command line operations can be faster and more resource-efficient, especially when dealing with large batches of files or complex compression tasks.
Getting Started with 7-Zip Command Line
Ensure that 7-Zip is installed on your Windows system. Once installed, open the Command Prompt or PowerShell to begin using 7-Zip from the command line.
Basic Compression Commands
1. Compressing Files:
To compress a file or directory, use the following command
7z a [archive_name] [files/directories]
Example:
7z a my_archive.7z folder_to_compress
2. Extracting Files:
To extract files from an archive, use the following command:
7z x my_archive.7z
Advanced Compression Options
Compression Level:
Specify the compression level using the -mx flag followed by a number from 0 to 9 (0 = no compression, 9 = maximum compression).
Example:
7z a -mx=9 my_archive.7z folder_to_compress
2. Password Protection:
Encrypt the archive with a password using the -p flag followed by the desired password.
Example:
7z a -psecret my_archive.7z folder_to_compress
Batch Compression and Scripting for Automation
To compress multiple files or folder in batch, you can create a script file containing multiple 7-Zip commands.
Example (Batch Script):
@echo off
for %%F in (*.txt) do (
    7z a "%%~nF.zip" "%%F"
)

