Rooting your Infinix Note 40 Pro Plus can open up a wide range of options, from personalising your phone to improving it’s performance. However, it’s essential to proceed with caution, as rooting involves risks and could void your warranty. In this guide, we’ll walk you through the process step by step in simple terms.
What is Rooting?
Rooting is the process of gaining full administrative control over your Android device. It allows you to access system files and make changes that are otherwise restricted by the manufacturer.
Before You Begin:
- Backup your data: Rooting might cause data loss, so it’s crucial to back up your important files, photos, and contacts.
- Charge your phone: Ensure your Infinix Note 40 Pro Plus has sufficient battery to prevent any interruptions during the rooting process.
- Unlock the Bootloader : unlock bootloader by following this guide or official Method
- Download Require Files:
- Magisk Manager
- Infinix Note 40 Pro Plus Firmware
- Contact Me for safe root, region change, unbrick, frp & unlock >>
Step-by-Step Guide to Root Infinix Note 40 Pro Plus:
Download the Latest Firmware:
- first download Infinix Note 40 Pro Plus firmware from above links
- Note: firmware version you download must match the version currently installed on your Infinix Note 40 Pro Plus. Mixing different firmware versions can lead to unexpected issues and may compromise the rooting process. if the firmware version is different you must flash the firmware first.
Extract and Move Boot.img:
- Extract the downloaded zip file. Here are the Instructions to extract encrypted firmware
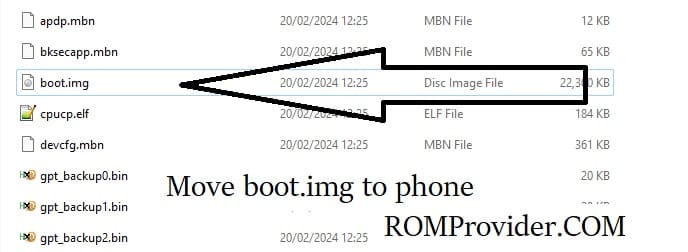
- Move the boot.img from the firmware folder to your phone.
Install Magisk Manager:
- Install Magisk Manager on your Infinix Note 40 Pro Plus
Patch the boot.img:
- Launch Magisk Manager.
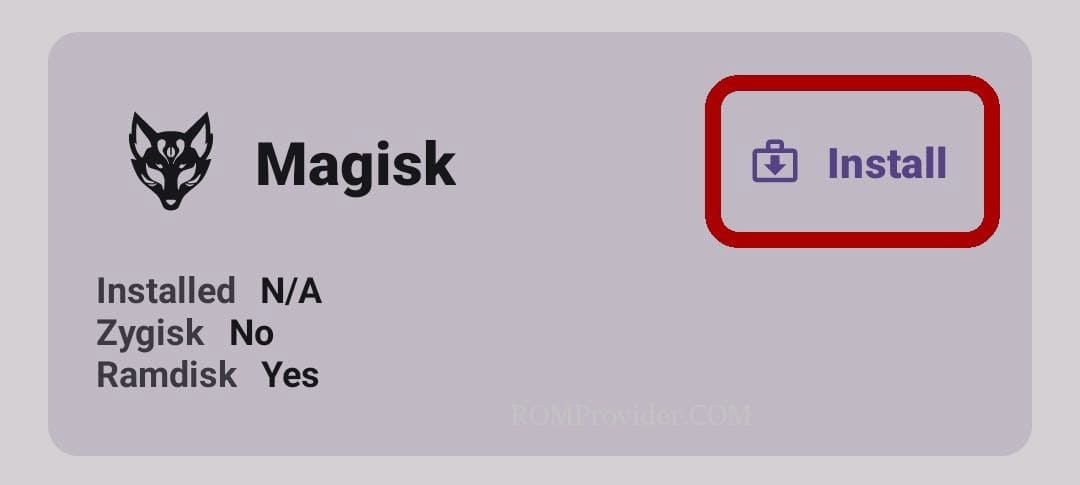
- Click ‘Install’ and choose the patch file.
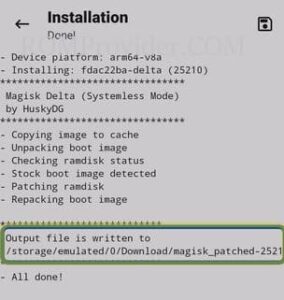
- Select & patch a File, Locate the boot.img and initiate the patching process.
Transfer Patched File to PC:
Once the patching is complete, move the patched file to PC > Storage/Download/Magisk-patched.img.
Enable USB Debugging and OEM Unlock:
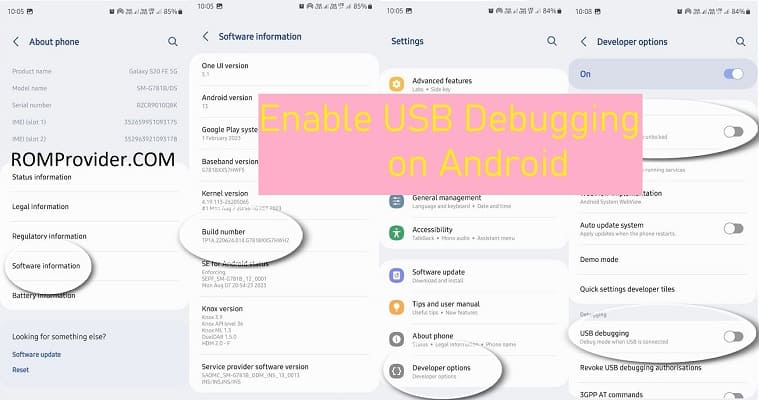
- On your phone, enable USB debugging and OEM unlock from the Developer Options.
Connect Phone to Computer in Bootloader Mode:
- Connect your phone to the computer in bootloader mode.
Flash Patched File:
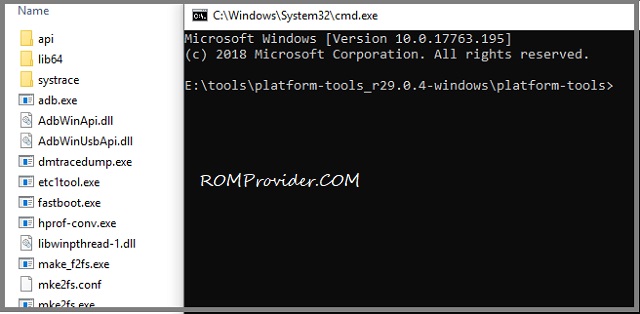
- Open the command prompt in the platform tool folder
- enter below command to flash rooted file:
fastboot flash boot 'filename'
Reboot Your Phone:
after flashing, reboot your Infinix Note 40 Pro Plus by sending below command
fastboot reboot
Completion:
Congratulations! Your Infinix Note 40 Pro Plus is now successfully rooted.
Related:


