Dolby Atmos™ for UMIDIGI X:
Dolby Atmos™ for the UMIDIGI X is Now available for Download. Say thanks to XDA Recognized Developer guitardedhero, Who Provided a Working build of Dolby Atmos™ for The android 8.0 XX Devices. The Build is tested on ZTE Axon 7, Redmi Note 3, Redmi Note 5 and Redmi Note 6 Pro & It Working Well on all Devices. You can test it on Your own Phone by Following the below Instructions.
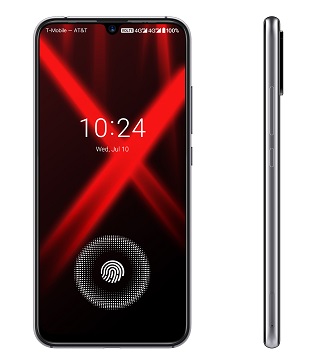
The UMIDIGI X Run on Android 9.0 & it is Powered by Mediatek MT6771 Processor. The Device Come with 4GB of RAM and 64GB of Storage can be expandable via SD card.
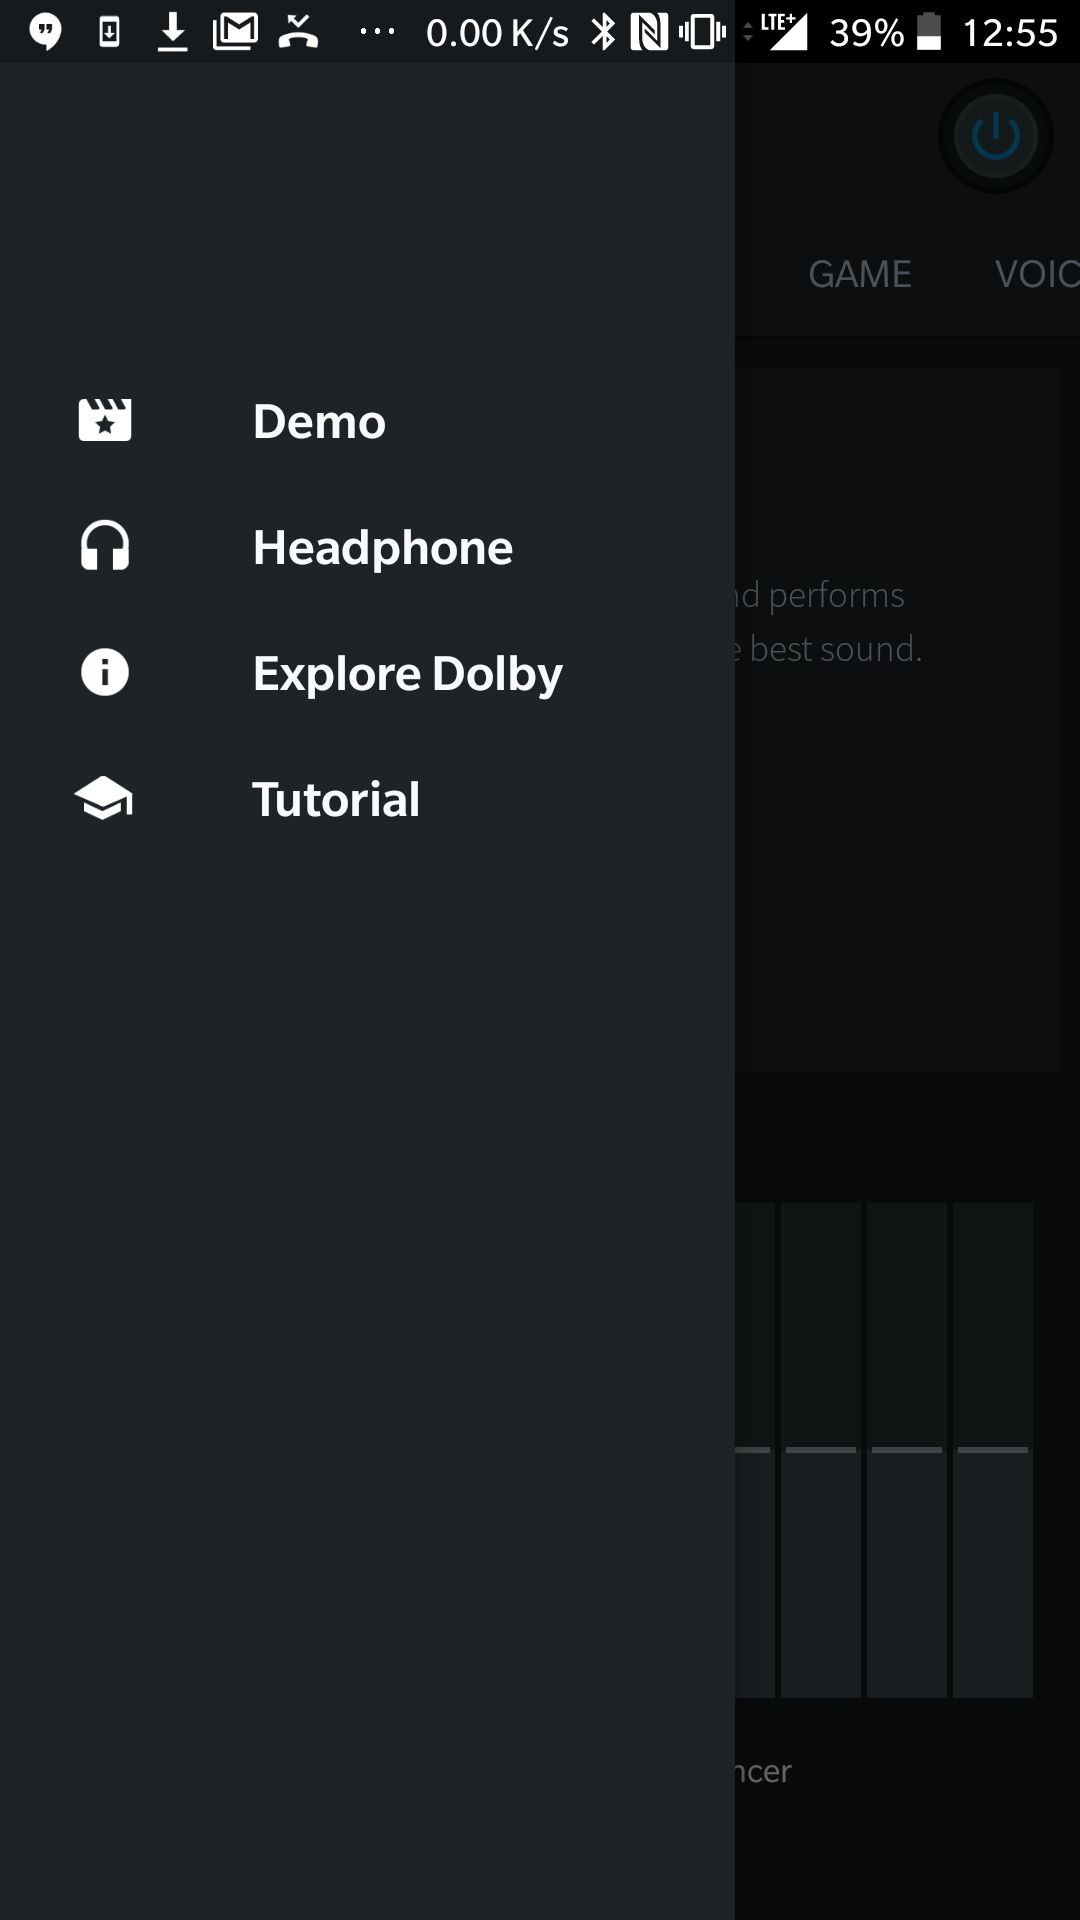
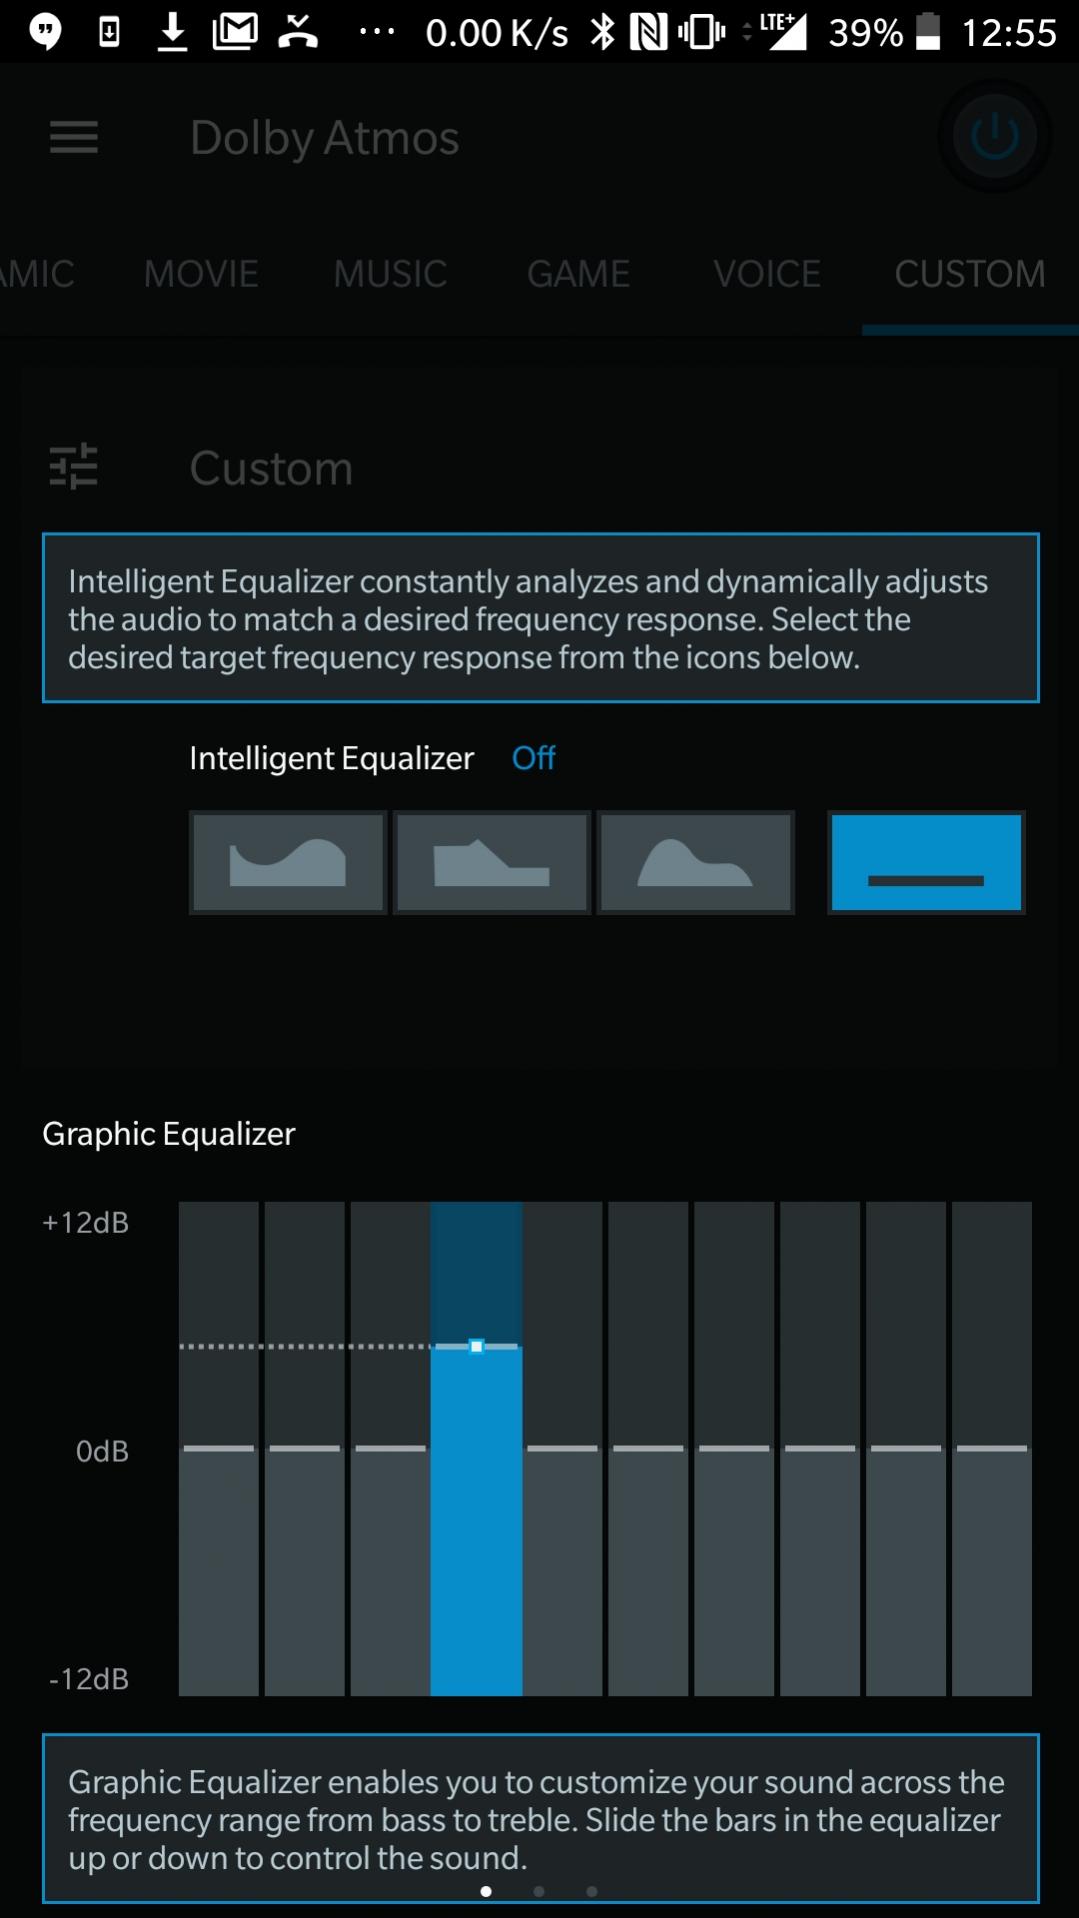
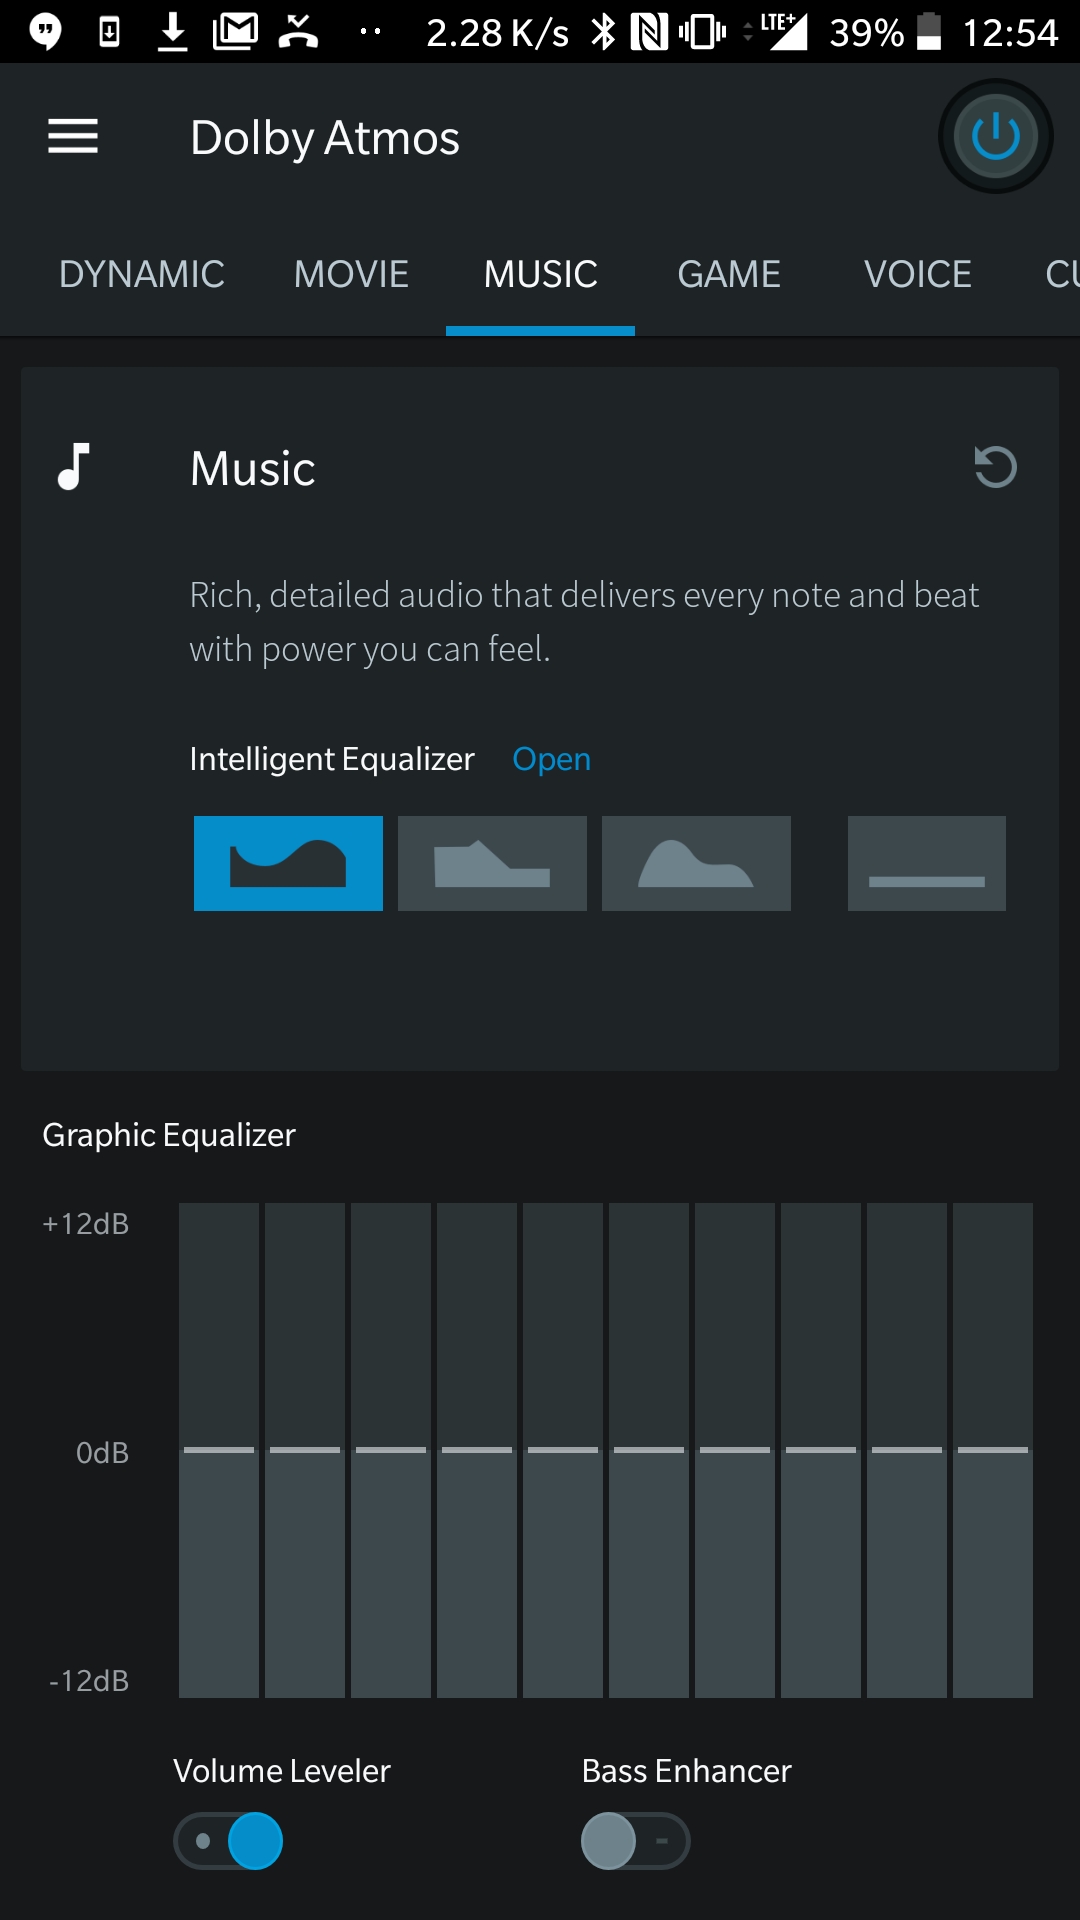
What is Dolby Atmos™:
Dolby Atmos™ is a Name of surround sound technology announced by Dolby Laboratories. Dolby Atmos Creates Powerful, Moving audio by introducing two important Concepts to Cinema Sound: audio objects and overhead Speakers.
Require:
1. backup NVRAM
2. backup Your Personal data
3. Create a nandroid backup
Requirement:
- unlocked bootloader
- twrp 3.3.1 Recovery
Download:
- Dolby UMIDIGI X (testing): Here
How to Install Dolby Atmos on UMIDIGI X:
- Download Dolby Atmos™ for From above and Save it to Device Storage.
- Reboot Phone to twrp Recovery by holding Volume up & Power Button.
- Go to backup tab and Make a nandroid backup.
- Go to Install tab Locate Downloaded Dolby Atmos™ File and the Swipe Slider to Install
- Reboot System Now.
- Done.