Rooting UMIDIGI G3 means gaining administrative access to the device’s operating system, which allow the user to make changes and modifications that are not possible with normal user privileges. Rooting can provide users with a lot of flexibility and control over their devices, but it also carries some risks, such as potentially voiding the device’s warranty and making it more vulnerable to security threats.
Before attempting to root UMIDIGI G3, backup important data from your device. once everything is backuped you can follow below Instructions.
Note:
- it will void device warranty
- all userdata will be erased, must make a backup before process
How to Root UMIDIGI G3 using Magisk:
- Download latest UMIDIGI G3 firmware from Here, you have to download same firmware which is currently installed on your device.
- Extract the zip
- Move boot.img from firmware folder to phone
- Download the latest version of Magisk Manager on your device.
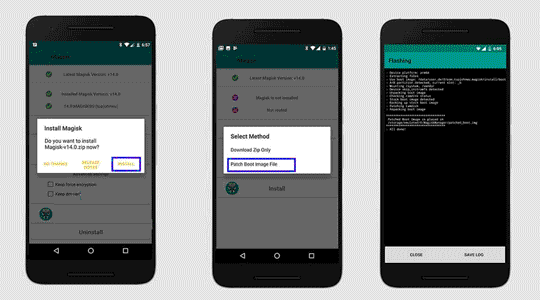
- Open Magisk Manager and tap on “Install”.
- Select “Patch Boot Image” and select the stock boot image you downloaded in step 1.
- Magisk will patch the boot image and save it to the “Downloads” folder on your device with the name “magisk_patched.img”.
- transfer the patched boot image to your computer.
- open cmd in platform tool folder & send below code’s
unlock bootloader:
fastboot flashing unlock
- on device confirm unlock warning
Flash Patched Image:
fastboot flash boot_a 'filename'
fastboot flash boot_b 'filename'
then reboot
fastboot reboot
done, Your phone successfully rooted.
Related:


