It can be challenging to fix Windows 11 programme compatibility problems using the Windows Registry. It’s important to comprehend the particular problems you’re having with the application and how registry adjustments could be of assistance. As a general rule, compatibility issues should be addressed as follows:
Back Up the Registry:
Make sure to backup the Windows Registry before making any changes. To accomplish this, launch the Registry Editor, choose “File,” and then pick “Export.” Put the backup file away in a secure place.
Identify the Compatibility Issue:
Identify the exact compatibility issue that you are having with the programme. Missing DLL files, improper settings, or compatibility mode problems are common problems.
Enable Compatibility Mode on Windows 11:
Windows allows you to set compatibility modes for applications, this will help to run as if they were on an older version of Windows. To enable compatibility mode follow below Instructions
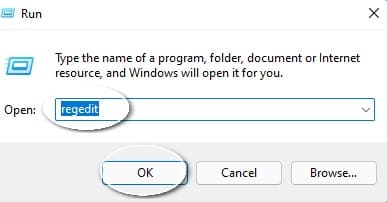
- Press and hold Win+ R button
- Enter ‘regedit’ & press Enter button
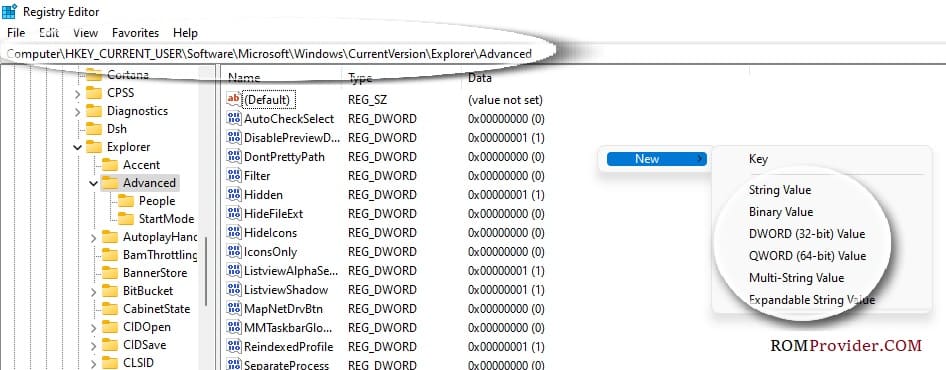
- in the reg editor, enter below patch & press Enter button
HKEY_CURRENT_USER\Software\Microsoft\Windows NT\CurrentVersion\AppCompatFlags\Layers
- Create a new String Value with the full path to the application executable (e.g., C:\Program Files\Application\app.exe) and set the value to the desired compatibility mode (e.g., WINXPSP3 for Windows XP SP3 compatibility).
DLL Registration:
Various DLL files can be necessary for some apps to run properly. Use PowerShell or Command Prompt’s regsvr32 command to register a DLL in the Registry. For instance, to register “example.dll,” a DLL, run:
regsvr32 C:\path\to\example.dll
Environment Variables:
There are apps that depend on environment variables. Environment variables can be configured in the Windows Registry under:
HKEY_LOCAL_MACHINE\SYSTEM\CurrentControlSet\Control\Session Manager\Environment
- Create a New String Value with the variable name and set it to the desired value.


