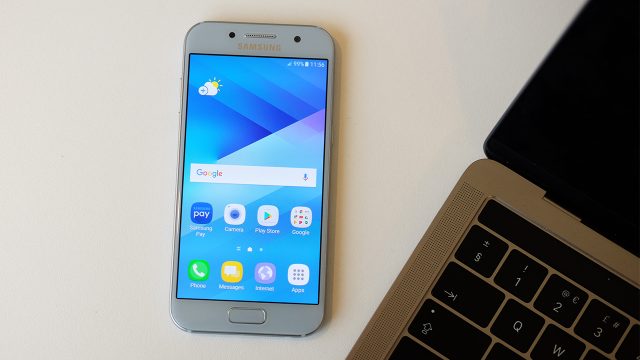
Description-
official Stock ROM firmware for Galaxy J5 SM-J510F is Here, in the article you will Learn how to Install stock ROM/flash file on Galaxy J5 SM-J510F. if you own a Galaxy J5 SM-J510F smartphone and want to Install Stock Rom/ firmware on it to unbrick or fix bootloop issue then you are on correct place, here i will Explain a Complete and Step by Step guide to Install Stock Firmware on Galaxy J5 SM-J510F.
The Galaxy J5 SM-J510F is a Latest Smartphone which is Run on android 7.0 OS and Powered by a Exynos Processor, the Galaxy J5 SM-J510F is a Dual Sim Smartphone that accept 2 Regular SIM card, connectivity Option’s include 3G 4G, GPS, Wi Fi, Bluetooth etc, Sensor include Goryo proximity Gravity etc.
Some other useful articles-
1, How to Flash Official Firmware on Vivo With QCOM-DLoader.
2. How to Disbale Boot verification using No verity Disbaler.
3. How to Repair IMEI Number on Qualcomm Phone [Easy Method]
4. How to Install Xposed framework on any Android Device [also Nougat]
5. How to Root without PC [Easy method]
6. How to backup NVRAM aka IMEI Number [Easy method Mediatek]
Note-
1. This is a unique to flash any Samsung Phone.
2. Flashing The Rom will erase all your Data with official Rom, So create a backup of your personal data before Flashing, if possible.
3. Please Do carefully, We are not Responsible for any damage, bootloop, or dead SD card’s.
4. Ensure that your Device atleast 50% charge During Flashing Process,to Stop the Accidentally Switch off.
5.Follow all steps correctly otherwise it cause bootloop.
6. Must backup NVRAM using this Guide before Doing anything.
Firmware Information-
| Device Name | Galaxy J5 SM-J510F |
| OS | Android 7.0 |
| Chipset | Exynos |
| language | Multi Language |
| Root access | Not Rooted |
| Gapps | Included |
Require tools and Files-
| File Name | Download |
| odin | Download |
| Driver [Must Require] | Download |
| Firmware Galaxy J5 SM-J510F | Download |
| Backup NVRAM [Must Require] | Go–Here |
How to Install Stock ROM on Samsung Galaxy J5 SM-J510F-
Step-5) Connect your Galaxy Device to your PC with the data cable and reboot into the Download/Odin mode.
Step-6) To enter into download mode turn off your phone and press and hold the ‘Home + Volume Down + Power’ buttons together until you see the download mode screen.
Step-7) Once you enter into Download mode, you see anID: COM port turned blue and Added message in Odin message box means your device has recognized by Odin.
Step-8) If ID: COM doesn’t show means your driver is not correctly installed or try it with different USB cable.
Step-9) Now locate and add the Firmware–xxx..tar file (you downloaded from above) to the AP/PDA tab in Odin.
Step-10) Make sure that only these two options are tick “Auto Reboot” and “F.Reset Time“
Step-11) Now click ‘Start‘ button and it will start flashing the file. Wait until you see ‘Pass‘ in Green Color on Odin screen. This step will Install TWRP Recovery On Your Samsung Device

