")
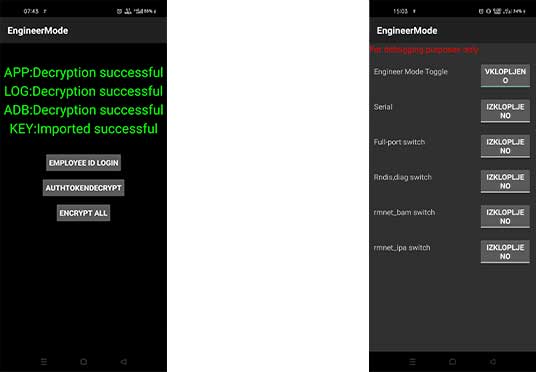
Qualcomm Diagnostic Mode, also known as Qualcomm DIAG mode, is a diagnostic and debugging interface available on Qualcomm-powered Android devices. The mode allows developers and advanced users to access the device’s internal diagnostic and testing functions, including the ability to send and receive diagnostic commands and log data to and from the device.
To access Qualcomm Diagnostic Mode on an Android device, the device must be rooted and have the proper drivers installed. Once the device is in DIAG mode, you can use a tool such as QPST or QXDM to send and receive diagnostic commands and access device logs and other information. This information can be useful for troubleshooting and debugging issues with the device, as well as for customizing and modifying the device’s firmware. Here is some Method’s to enable Qualcomm Diag Mod.
How to Enable Diag Port on Rooted Phones:
for rooted Phone we send below code using adb
adb shell
su
setprop sys.usb.config rndis,diag,adb
Android 11, Android 12:
adb shell
su
resetprop ro.bootmode usbradio
resetprop ro.build.type userdebug
setprop sys.usb.config diag,diag_mdm,adb
diag_mdlog
How to Enable Diag Port on Xiaomi Phones without Root:
- open dialer and dial *#*#13491#*#*
How to Enable Diag Port on OnePlus phones without Root:
- open dialer and dial *#801#
How to Enable Diag Port on Old Oppo Phones:
- connect phone and run this tool
How to Enable Diag Port on Vivo Phones without Root:
- open dialer & dial this code *#558#
- Go to quality verification test
- scroll down and tick on debugging port
How to Enable Diag Port on New Oppo Realme OnePlus Phones:
- Open the dialer app on the phone , dial *#9434#
- Open Device Manager and expand the Network Adapters category.
- Disable all your ethernet adapters except the wifi adapter.
- Click on the action tab, then choose add legacy hardware.
- Click next.
- Choose install the hardware that I manually select from a list (Advanced) and click next.
- Click network adapters, then click next.
- Select Microsoft and choose Microsoft KM-TEST Loopback Adapter, then click next.
- Click next, then click finish.
- In the device manager, browse the Network adapters and double click on Microsoft KM-TEST Loopback Adapter to open its properties.
- Go to the Advanced tab and find the Network Address option
- Click the blank chackbox and paste 704D7B61ABCD in the text box
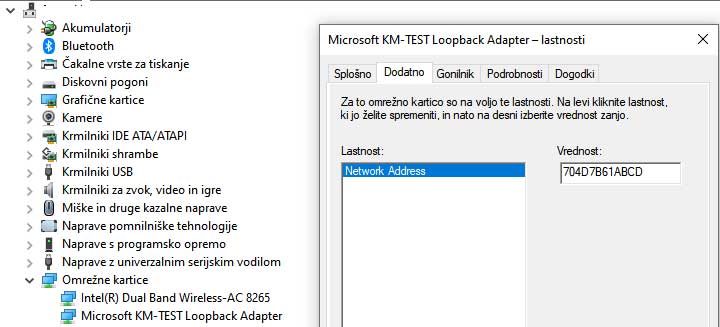
- Close the properties window and close Device Manager.
- Download & Extract Oppo Free unlock . Open Sec5.exe.
- Make sure your device is in MTP mode, In the tool press the ‘Unlock button‘. After about a second, a string of numbers and letters should show up in the left pane. A few seconds later, “OK” should start flashing in the right pane. Press “Stop unlocking” and close the window.

- Open the dialer app on the phone , dial *#9434#
- Then enter *#649010# and to unlock any option You need to enter Confirm code which is 6776 and You are ready to go to backup or restore IMEI and many more …
- done, Now you can use ROM2box to Read & write QCN